Share
Pin
Tweet
Send
Share
Send
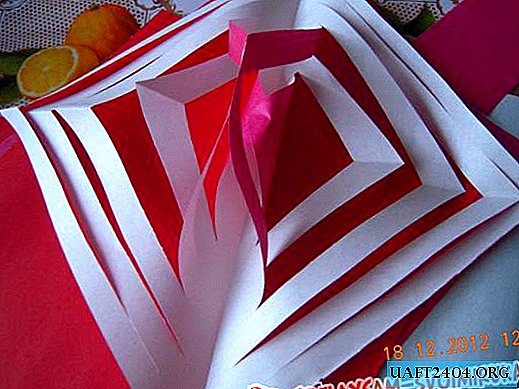
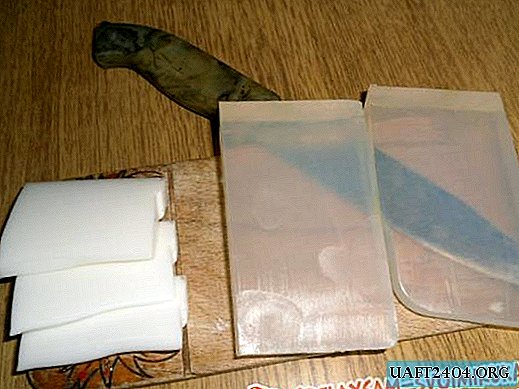
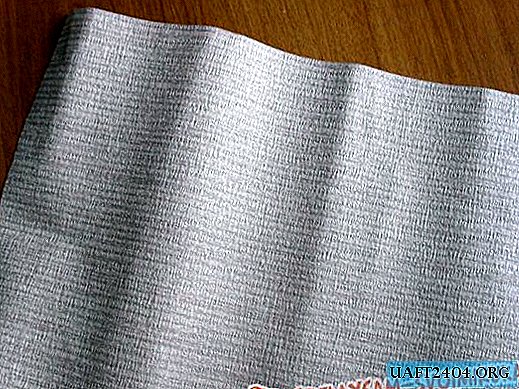
The non-woven wallpaper remnants of the wallpaper are selected as the starting material for the conceived work.
Stages of making a gift box:
1. Measure the square on the panel of wallpaper. When using other paper or thin cardboard, you must use a ruler and a pencil and make the necessary measurements. But given that the non-woven basis of the wallpaper is quite solid, we can afford to “map” the desired parameter “to the corner”.

As for the sizes, here it is necessary to proceed from what kind of packaging you need. The more square you cut from the beginning, the bigger the box.
2. Get a completely flat (equilateral) square.

3. We will observe the necessary folds only from the inside out.

4. To get diagonal lines, we do the bends in the other direction.
Further measurements are carried out the same way - manually, without auxiliary items. We take the corner and carefully bring to the center.

5. Double one side first.


6. With the opposite side and with those located on the sides of the square, we do the same.


7. Now we release the entire folded structure. The result should be a division into a kind of border.

8. For certain lines, then you need to cut. We arm ourselves with scissors for this purpose. Pay attention to the fact that the shown places for incisions will be peculiar to only one diagonal. We cut it to the point where a visual square is drawn from our original folds.

9. Now the next cut is made, but not as deep as in the first case.


10. The workpiece is ready. It's time to go to the assembly. Everything is extremely simple here. The design is more reminiscent of a package that was accidentally unfolded. Following the previously outlined lines, we fold the box. The lines themselves will tell you how to stack them.


11. The lid of the manufactured box will always be smaller.


12. So that she does not “hang out” and is not “tight,” maintain 3-5 mm for each side of the square at the stage of preparation.
13. The decoration of gift wrapping directly depends on the festive situation. In addition to flowers, beads, rhinestones, ribbons, lace are quite suitable. You can paint and paint, if you know how. And if this is a cute little thing for a baby, then paper angels will quite worthily take their place.


That's all. Pretty cute gift box ready. To make it, it took a little bit: a piece of wallpaper, a drop of patience and perseverance, and a bit of free time.
Share
Pin
Tweet
Send
Share
Send