Share
Pin
Tweet
Send
Share
Send

Video instruction for making a circular saw
This article is intended for those who are interested in how to make a circular saw yourself. Such a saw has the ability to work from a 12V motor, so you can power it from batteries. You can take and plug it in your car. The saw is used to cut boards. The motor you choose should have more power - only in this case the work will be definitely effective.
What materials and tools are needed?
The following materials are used to carry out the work:
- - 12-volt motor;
- - rechargeable batteries 12 V;
- - switch;
- - cutting disc 110 by 20 mm;
- - adapter for the motor (with which you can install discs);
- - plastic sheet or others;
- - small cogs, screws;
- - epoxy adhesive;
- - clamps made of metal;
- - caps for plastic pipes;
- - two corners of plastic pipes (27) and a piece of pipe (used as a material from which you can make a handle);
- - a piece of plastic pipe with which to create a protective casing;
- - a block with contacts;
- - heat shrink;
- - paint.


There is also a need to use the following tools:
- - hacksaws for metal;
- - glue gun;
- - drills;
- - soldering device;
- - markers;
- - rulers;
- - rivet gun;
- - screwdrivers;
- - "dremel" (recommended).
The circular saw is made in ten next steps.
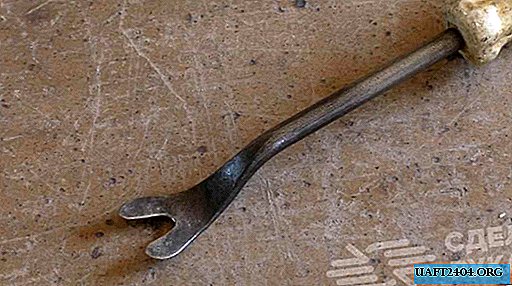
Installing a cutting disc
Using a special adapter (disk adapter), it is necessary to attach the cutting disc to the motor shaft. Today, such an adapter can be easily found in many specialized stores. Securely tighten the screws, install the adapter, and then install the disk: its mounting is carried out similarly to how it is done on a grinder. The disk should not be unscrewed during operation, so tighten all existing components well.


Base engine mounting
First of all, find some plywood or other durable material through which the base will be made. Cut out the necessary piece and draw the corresponding lines. Next, using a clerical knife, it is necessary to cut out the window, and then drill holes in the material.


Then with the help of several clamps, screws with nuts and washers, you can attach the motor. To avoid “walking” the motor on the base, tighten the nuts securely. Next, you need to make sure that the rotating disk does not touch the base.
The base before assembly can, for example, be spray-painted green. Holes must be drilled under the screw caps so that they do not have to grind.


Production and installation of a protective wing
Shavings in the process of work should not scatter to the sides, therefore, for such a device, it is absolutely necessary to install a protective shield. You can make a protective shield from a plug for plastic pipes of size 110. You need to take measurements and cut off the excess part from the cork by using a metal hacksaw. In addition, cut a groove under the motor shaft.


After the manufacture of the wing can be taken for its establishment. This can be done using aluminum corners, as well as a rivet gun. Drill holes of the required diameter and install rivets on the wing, placing washers on the other side. Rivets are recommended for collection.


Special casing for motor protection
The motor must also be closed, because it must be protected from dust particles, in addition, it can overheat. The casing is made of a piece of plastic pipe of the appropriate diameter. Using a hacksaw for metal, it is necessary to cut along, and then secure the casing with corners made of aluminum. The corners are fixed to the casing with rivets, and the body is fixed to the base with screws and nuts - this is necessary to remove the casing and have access to the motor.


Pen making
For safe operation of the device, you must have a convenient and reliable handle. It can be made using two connecting corners for pipes and two small pipes. It is necessary to cut everything to the required size at the required angle, and then assemble it with glue.


Now you have a pen!
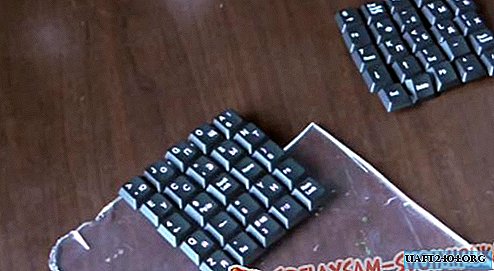
Switch and handle installation
Only after installing a switch (keyboard type) in the handle can the handle be installed. When installing the switch, be sure to consider Amperage. Cut the switch, install it using hot glue.


The fixed handle is fixed at two points, after which the handle is fixed to the base. An epoxy adhesive is used to secure the second end to the motor housing. It is good to clean the glued surfaces with a dremel or sandpaper, and then apply an epoxy. Now your device is "not afraid" of any breakdown, because even if this happens, then removing the handle with the cover, you can fix it.


Paint application
The product must be painted (for example, with a spray can) because this will give it additional respectability. In this case, you need to tape the switch and other non-coloring elements with tape.


Back cover
The back cover is made using a plug for plastic pipes of 60 mm diameter, it is necessary to cut off everything superfluous from it and try on. Using the plug also installed in this part, the device will be connected to a power source. It is necessary to cut a hole for the block.


Final assembly
Then you can proceed with the assembly, first of all, you need to make the output of the supply wires. We solder one wire directly to the contact of the motor, and the other into the gap through the switch. Lead the ends of the wires through the back cover and put on a heat shrink. Next, you need to solder the connector, and then fix it on the cover.


After that we fix the back cover, and with a "dremel" or sandpaper grind the screw caps on the working surface.
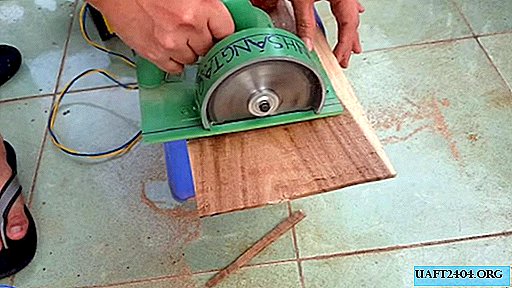
The car is ready, it's time to test!


Saw Testing
The correct determination of the polarity can be called the most important step in the process of connecting the saw to a power source. The success of this moment depends on whether the saw will rotate in the direction it is needed.
Verification is carried out by an experimental method!
In order to be able to take the saw with you to any place (for example, to the forest), 12 V batteries are used. It will be more appropriate for continuous use in the workshop to connect the saw through the power supply, but we must not forget that the current must be direct! Good inventions to you!
Share
Pin
Tweet
Send
Share
Send