Share
Pin
Tweet
Send
Share
Send
The simple, functional design of the drill, presented by the author of the video, is quite capable of competing with a professional tool. The characteristics are almost the same, and from the advantages it is possible to highlight the complete autonomy of the instrument due to the built-in batteries. Well, of course, the low price, because a professional drill will cost much more than our homemade product.
Using it, you can drill almost any material: wood, plywood, fiberboard, MDF, plastics, composites and even soft metals (for hard materials it will be rather weak). She can sharpen a cutting tool, cut, engrave, grind, in general, everything that is usually done with a drill. How to make it? Let's see.

How it works?
The basis of the device is a 12 V brushless DC motor. Its body has a regular cylindrical shape, matching the diameter with the internal size of a 2-inch PVC pipe for sewer work. The engine is powered by two 2200 mA lithium-polymer batteries with a total voltage of 7.4 V.
We collect materials and tools
From the materials we need:
- DC motor at 12 V;
- Collet chuck for drill, working diameter - 3 mm;
- A piece of sewer PVC pipe 32 mm;
- Two lithium polymer batteries;
- Button switch;
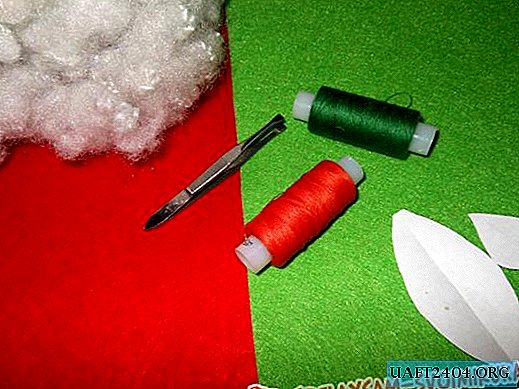
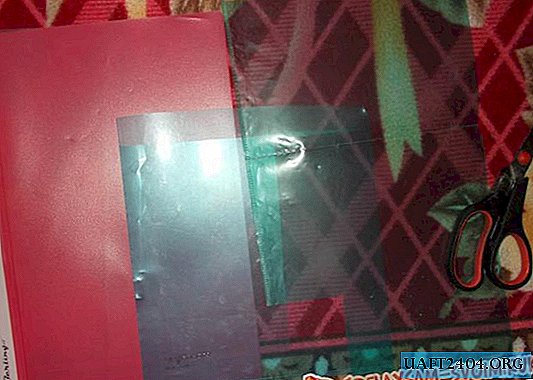
- A little plexiglass for pipe plugs;
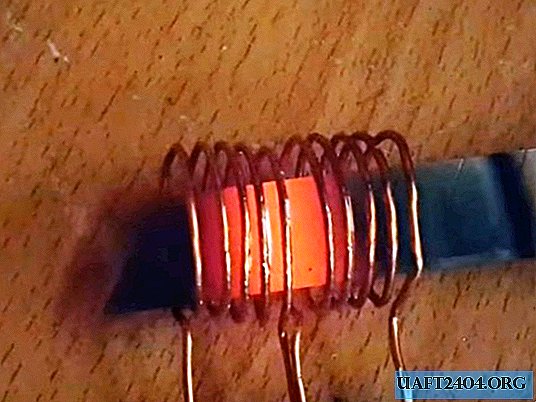
- Several copper wires with solder, sandpaper.
Tools: soldering iron, hacksaw, screwdriver, milling nozzle for drilling external circles, a screwdriver, a paint knife, electrical tape and superglue. For marking, we need a tape measure and a pencil.
We make a drill - a step-by-step master class
Engine and collet chuck
The DC motor for our drill is really very cheap. On Aliexpress it can be found for just 300 rubles. Meanwhile, it consumes 1.4 A, which means its power will be equal to 16.8 W. This is quite enough for such a technique, given that the engine is capable of accelerating to 23,000 rpm.
The motor shaft is 3 mm in diameter, and it is necessary to select a collet chuck for it. It is fixed to the shaft with a hex wrench screw. The collet is clamped with an open-end wrench and the stopper of the cartridge itself.


PVC pipe
Using a regular metal blade or hacksaw, cut a length of 15 cm from the PVC pipe. We clean the edges of the sandpaper from burrs. The motor housing must fit snugly into the pipe. If gaps remain, they must be removed with gaskets, for example, from a rubber camera for a bicycle.


End caps
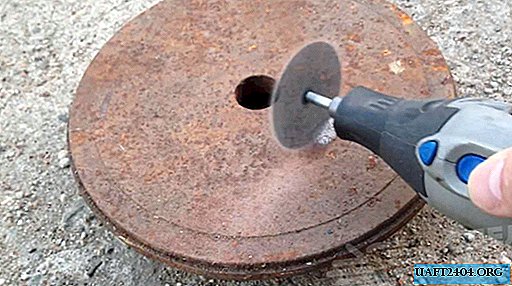
From a piece of plexiglass, plexiglass or fiberglass, we make end caps. The author used a nozzle cutter to drill external circles. They can also be cut with a simple hacksaw, adjusted to size and stripped with sandpaper.
In the center of both plugs there should be holes for a collet chuck and a connector for charging batteries. The circle of the plugs should overlap on the PVC tube.


Engine mounting
We expand the hole for the cartridge to the desired diameter with a round file or file. We fasten the engine to one of the plugs, making holes for fixing it to the screws. They can be made with a small drill and a screwdriver. We put caps on superglue for plastic.


Batteries
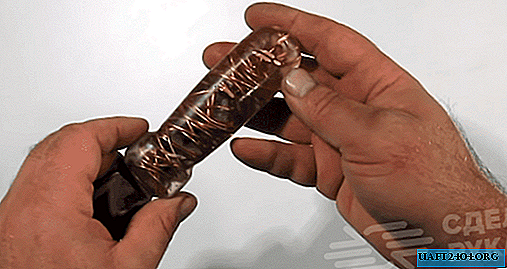
Adequate voltage can be obtained using two lithium-polymer batteries. Suitable batteries from an old laptop.
We connect them in series and wrap them with electrical tape. We bring the contacts from the insulated copper wire to the engine through the button-switch.


Putting the elements together
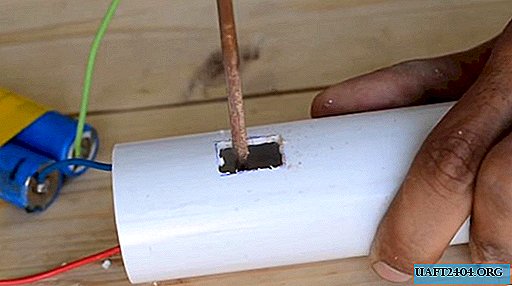
First we connect the engine, solder the wiring and isolate the contact group with heat shrink. We fix the engine with the collet chuck on the cover, and mount the button-switch on the side of the case with glue, making a hole for it and leveling it with a file. The connected batteries should fit perfectly into the size of the PVC tube.
The 5.5 mm connector for charging batteries completes the assembly. We fix it to the back cover with a clamping nut. Solder the contacts from the batteries to the connector, isolating the shrink cambric. Joints of plugs and tubes can be additionally passed with superglue, and cleaned with sandpaper.


Bringing Beauty
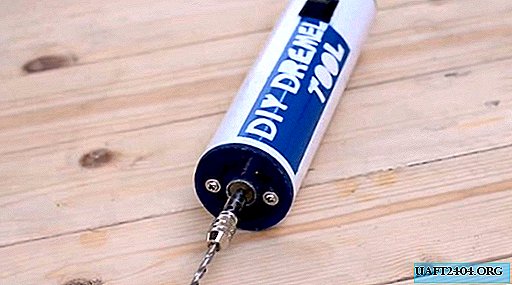
To emphasize individuality, the author chose to decorate his instrument with an exclusive inscription. Having made an impromptu stencil from the film and cut out letters, he used spray paint for a unique finish on the body of his creation.


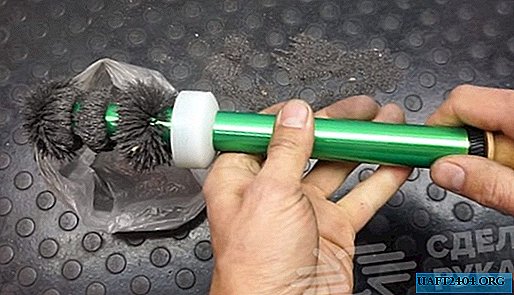
The drill is ready, now you can conduct experimental tests, and try to drill or cut something. Be sure that in capable hands such a tool will never stand idle!


Watch the video tutorial
Share
Pin
Tweet
Send
Share
Send