Share
Pin
Tweet
Send
Share
Send
The presented design allows you to cut wood, sheet metal, plastic and even paper at an angle of 30, 45 or 90 degrees. For the sake of experiment alone, I cut an old magazine, and as you can see in the photo, the result is almost like a print shop.


Necessary materials and tools:
- Fiberboard or plywood sheet 400 x 700 mm;
- Reiki 30 x 50 and 20 x 30 mm;
- Self-tapping screws;
- Studs M6;
- Wing nuts M6;
- Furniture futorki (screw nuts) M6;
- From the tools: jigsaw, screwdriver / drill, square.
Step-by-step instructions for making guides for a jigsaw
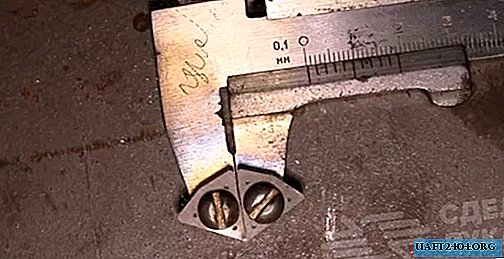
1. As the basis for the village, I took the door from the DPV from the old cabinet. You can use a sheet of plywood. On the basis, we mark the centers of the future supporting elements from wooden battens - the distance from the edge should be equal to half the thickness, in my case 15 mm with a rail thickness of 30 mm.

2. Along the perimeter we make holes for screws with a diameter of 3 mm with chamfers so that the caps of the screws do not protrude above the plane of the bed base. There are 2-3 holes on each side.


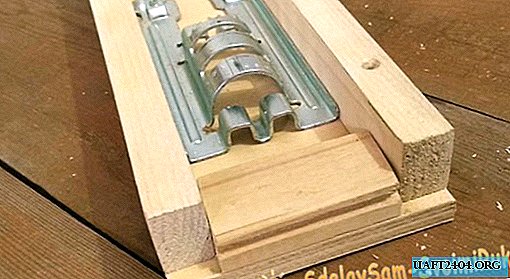
3. By the next step, we fix the base supports of the slats 30x50 mm alternately with wood screws. Supports are necessary so that there is free space for a jigsaw file.

Ready base on the back.

And from the working side.

4. Next, we make guides from two 20x30 mm battens and 10 mm plywood bases, as well as jigsaw travel stops from a rail of the same cross section.

The length of the guides should correspond to the length of the bed, and the width is selected individually for each jigsaw. Looking ahead, I will present a photo from which the principle of selecting the width of the plywood base is clearly visible.

5. First you need to dismantle the base of the jigsaw. Further, applying a 20x30 mm rail, we make markings for fastening with screws.

6. We place the rail under a sheet of plywood, while the marking should remain on top!

We carry out three holes for self-tapping screws with chamfers to "hide" the caps of the fasteners.

We fasten the rail to the base of the guide.
7. We fix the second side rail only after trying on the base - it should walk between the rails freely, but without backlashes. After the “fitting” of the rail, we fix it temporarily on top with two screws, and then, by analogy with the sixth step, fix the second rail, and unscrew the temporary screws.
8. We fix the two stroke limiters with two screws.

9. According to the markup in the first step, make marks with a pencil along the edges of the guide.

Mark the marks and make holes with a diameter of 6 mm.

10. Using the holes made in the previous step as a conductor, we make holes in the base.

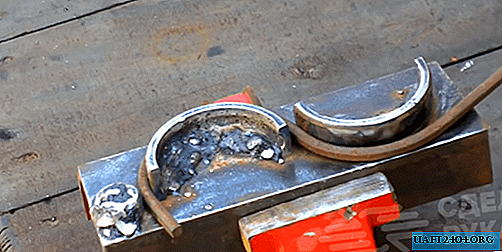
11. With a 10 mm drill we make blind holes with a depth of 10 mm.

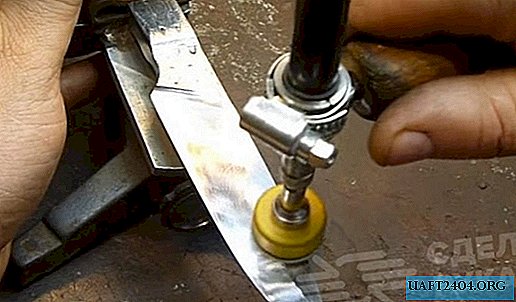
12. Screw the furniture futurki into the holes obtained. They can be purchased at furniture hardware stores.


We screw the M6 studs into the footers.

13. Similar operations are done on the rail.

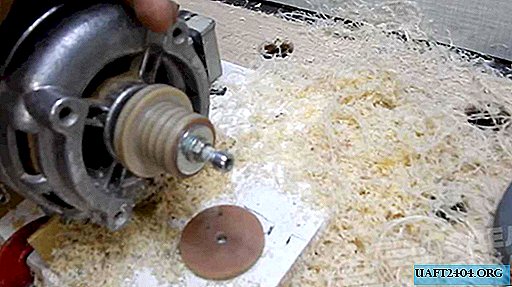
After that, we drill the internal thread of the foot with a 6 mm drill.
14. Mount the guide onto the studs.


The course should be free, without jamming.
15. By marking, we make a through hole for a jigsaw file (do not forget to take into account the protruding hairpin).

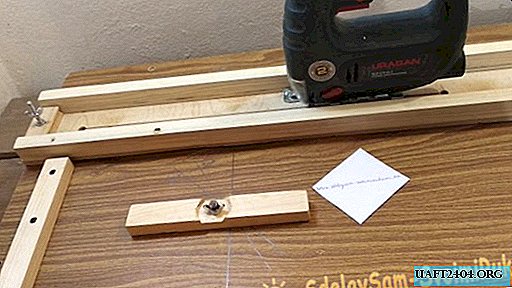
16. We perform a longitudinal cut with a jigsaw, at this step it is important not to rush, cutting at a low speed with the pendulum mode off (mark “0”) in order to get the most even cut without cutting the file.

17. Using a square, perpendicular to the guide we fix the stop from the rail 20x30 mm.

It will be used for cutting at right angles.
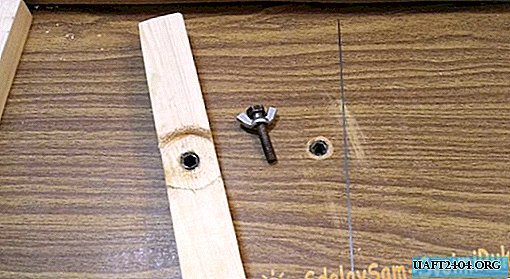
18. For cutting at an arbitrary angle (30, 45 degrees), we set the second stop, using furniture lining and a screw. I made the screw by tightening the wing nut onto the M6 bolt.
19. Using a protractor, we mark the corners necessary for your needs.


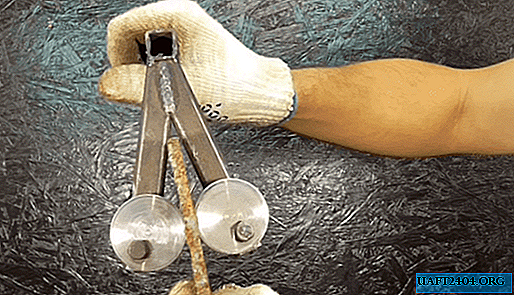
20. For reliable clamping of parts, we install wing nuts.

The frame for the jigsaw is ready.
Examples of cuts can be evaluated in the photo below.


As you can see, the cut is clean and smooth. Without such a device, even having extensive experience, it is difficult to get a cut of this quality on a budget jigsaw.
The bed in the work and step-by-step instructions for manufacturing do-it-yourself can be seen on the video.
Share
Pin
Tweet
Send
Share
Send