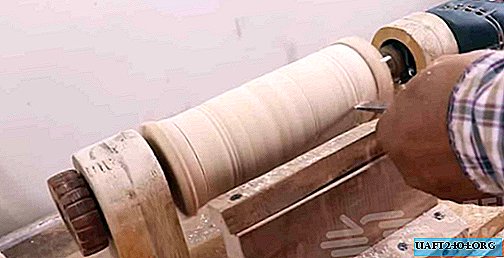
This homemade carpentry tool is useful in the home workshop, especially if you often have to work with wood. With its help, you can quickly and accurately remove the chamfer on various wooden blanks.

An ordinary chisel cannot be made so smoothly. It is very difficult to find such a good quality planer in a store or in the market, so we will do it ourselves.
The main stages of work
First of all, blanks of the required size and shape are cut, after which the base of the planer is glued. In the side walls, you must first drill holes for the thrust jumper.

Next, the second part of a homemade planer is made - it is thanks to this detail that the bevels are obtained as even as possible. First you need to saw one side of the bars at an angle of 45 degrees, and then glue them.

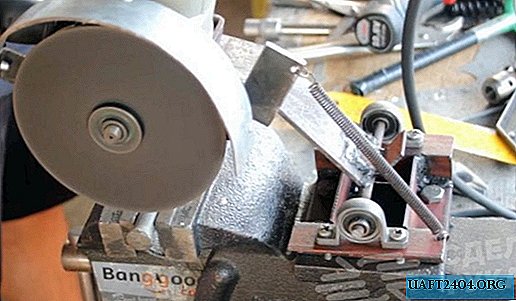
Then on the circular we make "steps" along the edges of the base. A cutting knife can be made from a chisel by cutting off its upper part with a shank. You will also need to make a clamp with a fixing screw.

At the next stage, cut two steel plates to size, then grind them and drill holes for the screws. These will be the pads of the planer, which are installed on the side of the "sole" of the base of the tool.

Then he completes the second part of the planer. First, glue the two bars together so that they form a small groove, after which we make a small slot in the center on the circular saw.

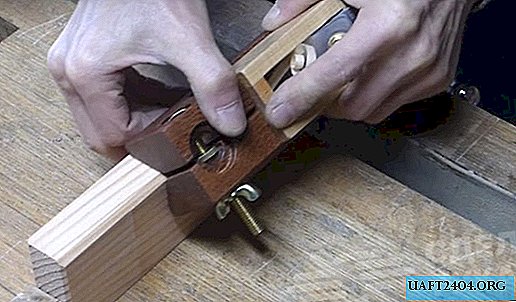
Then we connect the two parts of the planer together and fasten them with bolts with wing nuts. Under the bolts, you must first drill holes and cut the threads into them.

Working with such a homemade tool is very convenient and safe. The detailed process of making a planer for chamfering, see the video on the site.