From improvised materials you can make quite effective and most importantly - an inexpensive wooden clamp, which is useful in any carpentry workshop.
Manufacturing process
On a wooden blank or plywood sheet, you need to stick a template with a picture of the future fixture, and then cut out the part by drilling a hole in it in a given place, so that then a semicircular recess is obtained. It is better to cut with a manual jigsaw - it will turn out to do the job with the highest quality and accuracy.

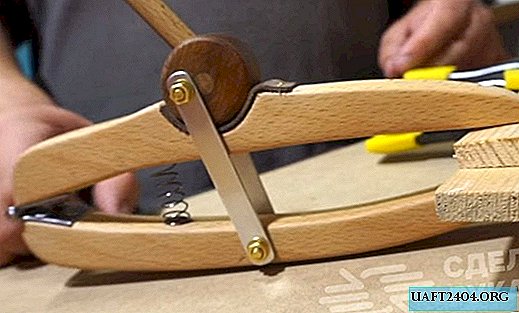
Then the cut part must be cut into two parts along the line and processed, rounding the edges and giving the product more aesthetics. After that, the two halves of the clamp must be connected to each other using a compact furniture hinge.
Assembly assembly
To bring this homemade product to mind, you will need to make a round wooden blank, make two holes in it: in the center and on the side, into which then rounded "rounded" cylindrical rods made of wood. Such a convenient rotary handle-lever will be located in a special recess on the top of the clamp.

Also, between the two halves of the wooden clamp, you need to install a spring, having previously prepared for it “landing places”, having drilled holes of suitable diameter on the inner sides of the product.

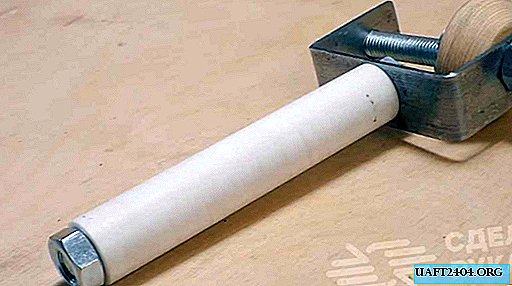
In the round part of the handle, you need to drill another hole and insert a piece of metal tube into it, at the end of which you need to put on a steel plate and fix its back side on the lower half of the clamp.
The detailed assembly process of this carpentry fixture, as well as the sequence of manufacturing of all parts can be seen in the video on our website.