Share
Pin
Tweet
Send
Share
Send
Materials and tools:
- Plastic bottle;
- saucer;
- felt-tip pen;
- awl;
- narrow green ribbon;
- needle;
- sticker;
- scissors.
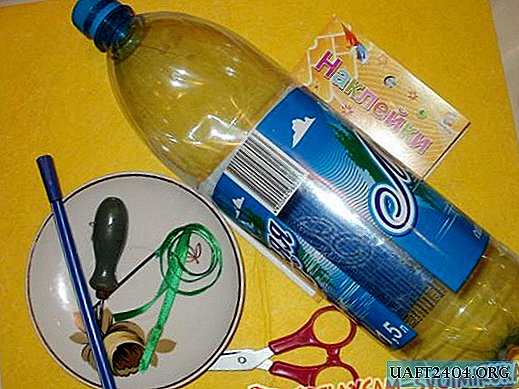
1. Cut off the upper part with scissors or a sharp knife from the bottle. The length of the pencil is about 16 cm, so the height of the remaining part of the bottle should be at least 25 cm.
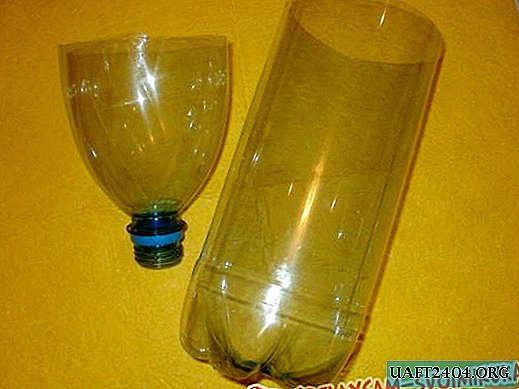
2. On top of the cropped part of the bottle, apply the saucer so that its edge coincides with the edge of the bottle.

3. With a felt-tip pen, circle the edge of half the saucer.


4. Scissors cut the edges of the bottle along the drawn line.

5. Again we apply the saucer, but now we circle the lower edge with a felt-tip pen.

6. On the line, cut off only one side of the bottle.

7. From above, bend the valve so that the cut edges coincide. The result was a pencil box with a lid.

8. Now we begin to decorate the pencil. First, we trim the trimmed edges with tape, to protect ourselves from cuts on sharp edges. With a heated awl we make punctures along the edge of the lid.

9. In the same way we make holes at the bottom of the bottle.

10. We thread the green ribbon into a large needle and “stitch” it over the edge through the holes on the cover. Optionally, you can use a tape of any color.

11. In the same way, we also “flash” the bottom of the pencil box.

12. The final touch in the decoration of the box will be a sticker, it is self-adhesive. We fix it in the center of the product.

13. Not only pencils can be stored in a pencil box. It is perfect for folding pens, felt-tip pens, scissors, an eraser, a pair of compasses, etc.

Share
Pin
Tweet
Send
Share
Send

