The first thing you will need to do is the table itself - for this we disassemble the wooden pallet into separate boards. Then we pull out the nails, make markings, cut to size and grind the surface of the boards with a grinder. After this, the frame of the wooden garden table from the tsar is assembled in the form of a rectangular box, the legs are made and the countertop is recruited.

To connect all the elements together, dowels and joiner's glue PVA or another are used. When the garden table is fully assembled, then you can proceed directly to its visual design. To do this, we will first use a conventional blowtorch, and then colorless varnish. Before finishing, the entire surface of the table must be well sanded.
Getting to the design of the garden table
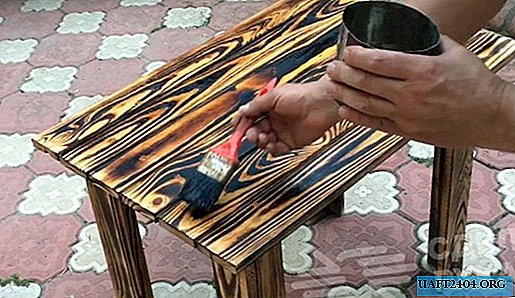
Then, using a blowtorch (you can use a conventional gas burner instead), we burn the surface of the countertops, legs and upper legs of the garden table. In this case, it is necessary to perform surface firing, trying not to burn the wood strongly. As a result, the texture of the wood surface becomes original and more expressive.

It is also worth noting that in addition to the aesthetic component, burning wood with a flame allows you to extend the life of the table. Given that he will stand on the street - this is just what you need. At the final stage, we cover the table surface with varnish. The detailed process of assembling and decorating a wooden table for a summer house and garden is available in the video on the website.


